Boost gauge in centre vents guide
3 posters
Page 1 of 1
 Boost gauge in centre vents guide
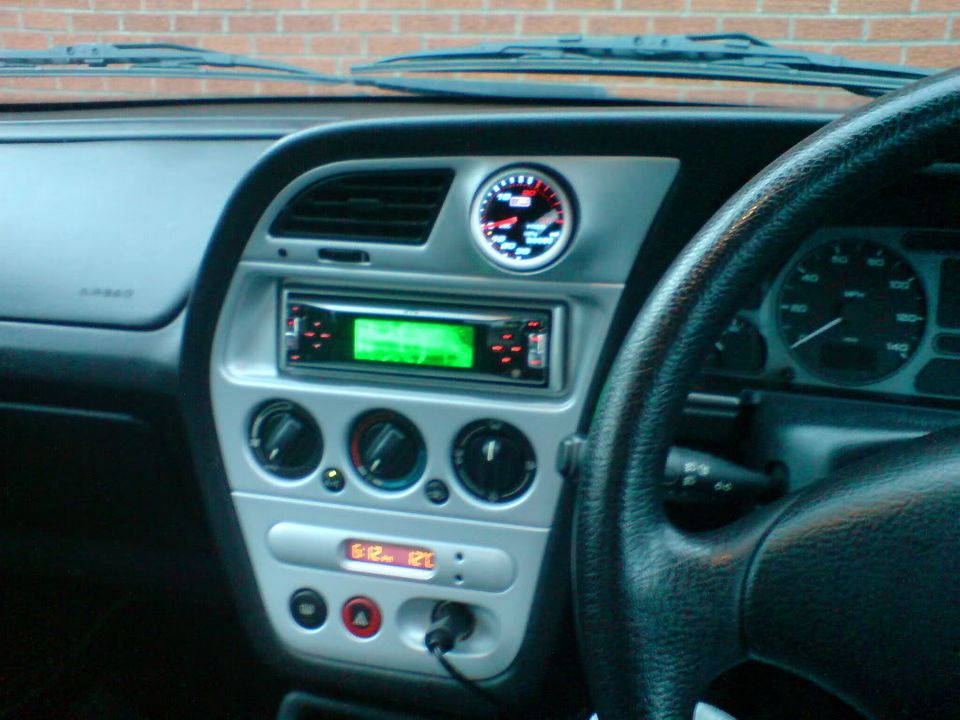
A few people have asked about my gauge so here's a quick guide on how I made my Pod:
1. To start off with a got a set of centre heater vents from the scrappies for a fiver then prised the vent bits out and the bit on the back for shutting them off, so I was just left with the surround to work with.
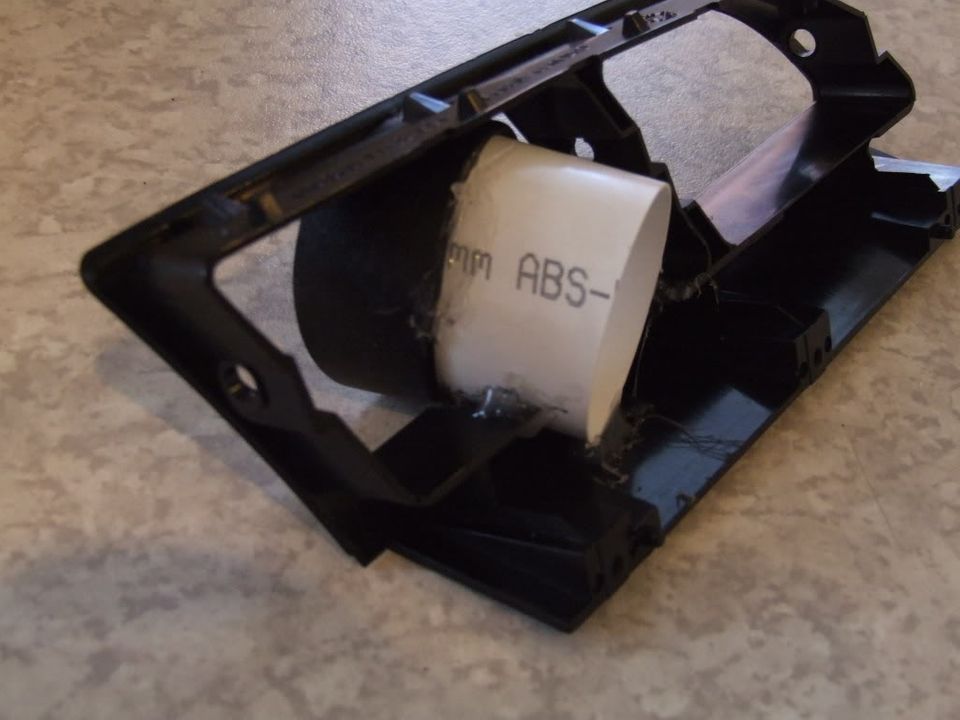
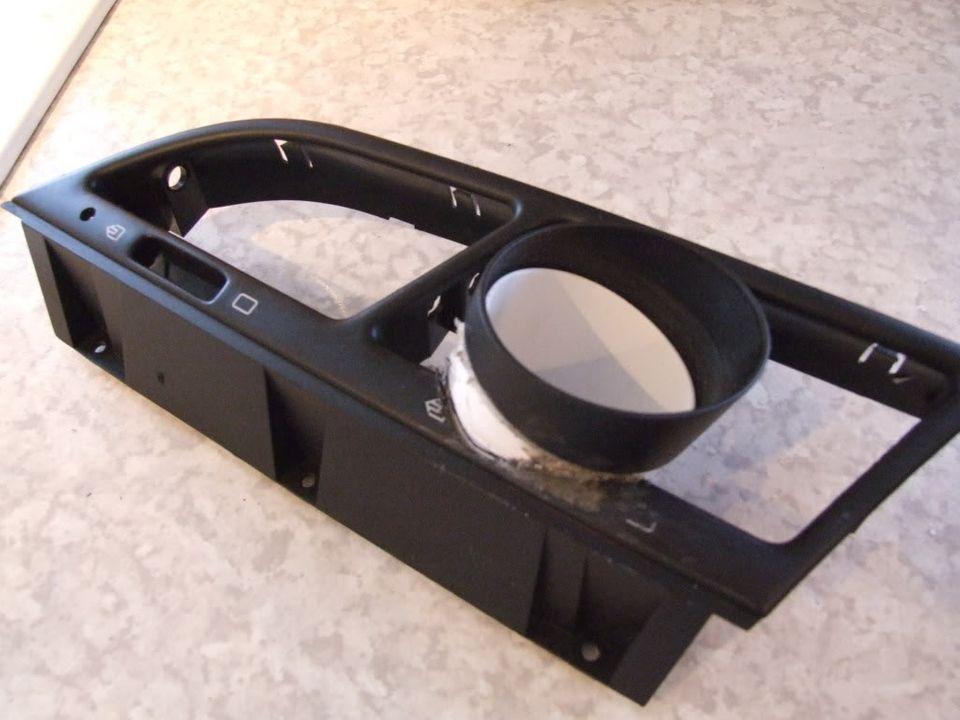
2. I got a piece of 2" polypipe (used for kitchen sink drainpipe), and glued that into position in the vent. I had to cut some of the vent surround away in order to get it at and angle where it points towards my face.
3. Since this was now sitting too far into the vent and would prove difficult to fibreglass around, I got the little sunshield that came with the gauge, and glued that on top of the pipe. It now looked like this:

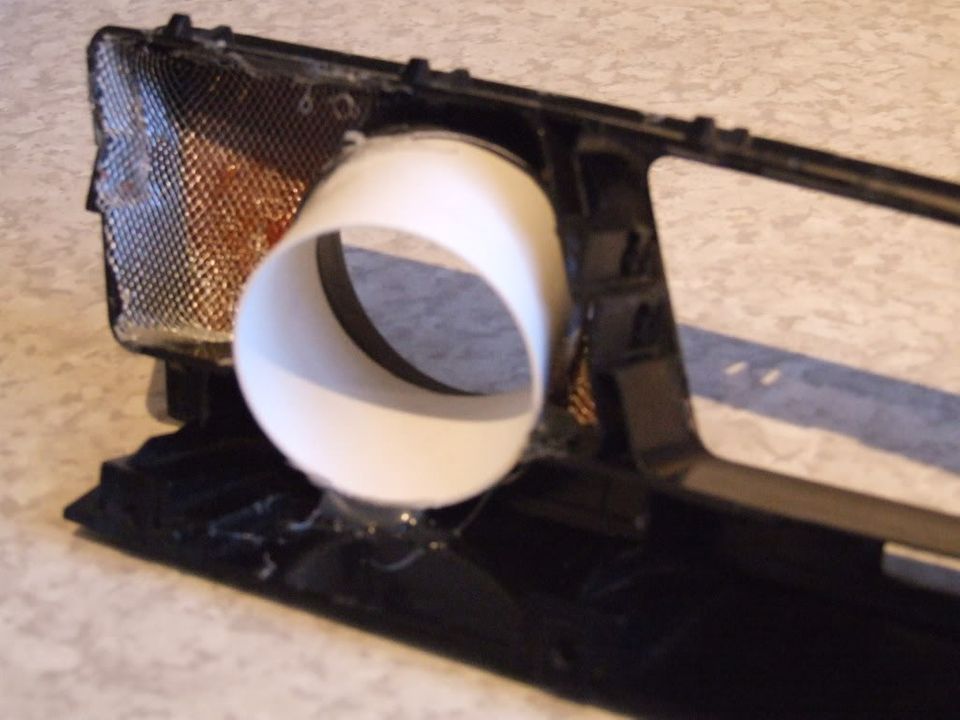
4. I now got wire mesh and cut it to fill the gaps around where the gauge will sit, then just fibreglassed on top. I'm not going to tell you how to fibreglass, you can research that yourself if you don't know.
5. After the fibre glass hardened i just got filler and filled it round roughly to how I wanted it to look. This is how it was looking at this point:


6. I rubbed down the filler then got a fine surface filler to achieve a perfect finish to paint. I had to do this several times to get it just right, and even after that it wasn't totally perfect.
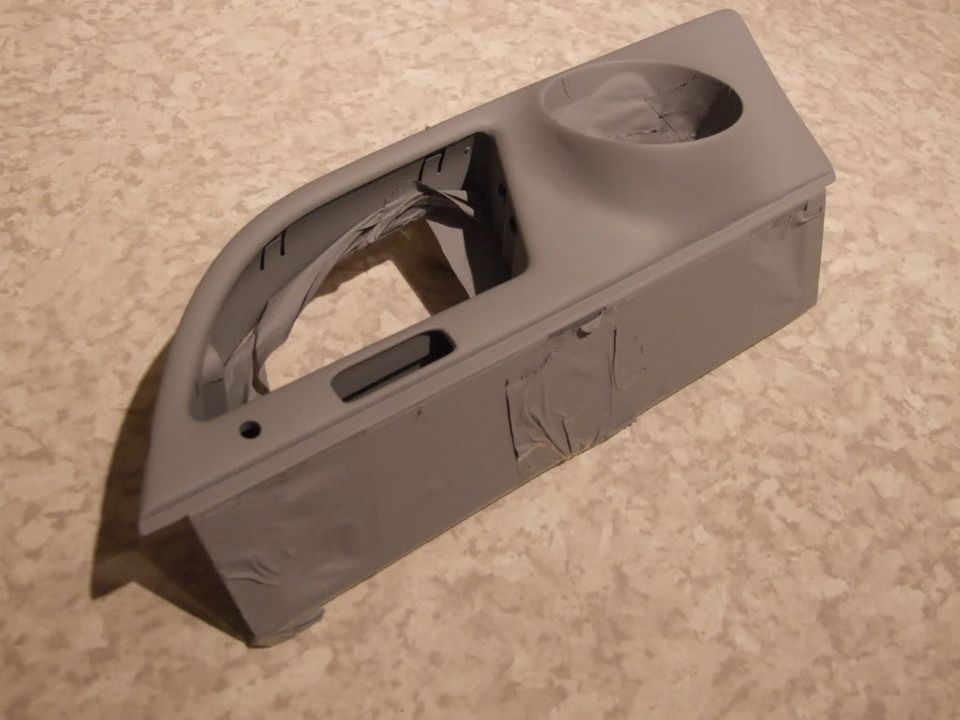
7. After I had masked it up and sprayed it with primer it was looking like this:
8. I then painted it, and done the rest of the dash to match. Put all the vent back together, put the gauge in, sealed off the back of the right hand vent as it was now useless, and it looks like this finished:
1. To start off with a got a set of centre heater vents from the scrappies for a fiver then prised the vent bits out and the bit on the back for shutting them off, so I was just left with the surround to work with.
2. I got a piece of 2" polypipe (used for kitchen sink drainpipe), and glued that into position in the vent. I had to cut some of the vent surround away in order to get it at and angle where it points towards my face.
3. Since this was now sitting too far into the vent and would prove difficult to fibreglass around, I got the little sunshield that came with the gauge, and glued that on top of the pipe. It now looked like this:


4. I now got wire mesh and cut it to fill the gaps around where the gauge will sit, then just fibreglassed on top. I'm not going to tell you how to fibreglass, you can research that yourself if you don't know.
5. After the fibre glass hardened i just got filler and filled it round roughly to how I wanted it to look. This is how it was looking at this point:


6. I rubbed down the filler then got a fine surface filler to achieve a perfect finish to paint. I had to do this several times to get it just right, and even after that it wasn't totally perfect.
7. After I had masked it up and sprayed it with primer it was looking like this:

8. I then painted it, and done the rest of the dash to match. Put all the vent back together, put the gauge in, sealed off the back of the right hand vent as it was now useless, and it looks like this finished:

 Re: Boost gauge in centre vents guide
im gonna give 1 of these a go but think im gonna stick 2 in there
 Similar topics
» Hdi boost gauge installtion guide
» boost gauge pod ?
» Boost gauge installation OEM look
» dump valve, boost gauge and tyres
» How to remove centre console [ GUIDE ]
» boost gauge pod ?
» Boost gauge installation OEM look
» dump valve, boost gauge and tyres
» How to remove centre console [ GUIDE ]
Page 1 of 1
Permissions in this forum:
You cannot reply to topics in this forum

 i "found" it on another forum,mine is a digital gauge